Well here we are at the end of another bowling season. It’s hard to believe that it’s that time already. On my travels around I’ve spotted the usual signs that autumn is coming with some clubs still stacking up the top dressing ready for the renovation onslaught. How I wish more clubs would re-think that plan and join the growing ranks of forward thinking clubs.
At this time of year you will hear a well worn phrase oft repeated:
“Time to put the green to bed for the winter”
Nothing makes me shudder more than that phrase as it communicates an attitude towards bowling green maintenance that is completely at odds with achieving a performance bowling green.
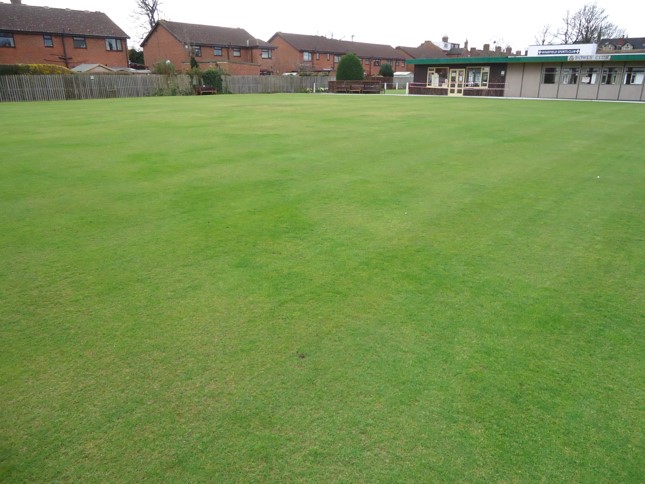
The process of putting the green to bed usually involves maintenance practices that many clubs have abandoned on my advice and who are now reaping the benefits of better green performance, more consistent playing conditions and although not the main aim of my program, vastly reduced maintenance costs; a nice bonus wouldn’t you say?
The putting the green to bed plan also assumes that the green should more or less be left alone after the autumn renovation program and I’m here to tell you that nothing could be further from the truth, if you want a performance green next year that is.
The autumn and winter period is the most important time of year to get some of the key work done on the green and it should be quite a busy time. The bonus is that you get to be out in the fresh, crisp air in the winter working off the Christmas excess as a lot of what I’ll be recommending is physical work.
The second best seller after Performance Bowling Greens on Bowls Central is The Autumn and Winter Bowling Green Maintenance Guide.
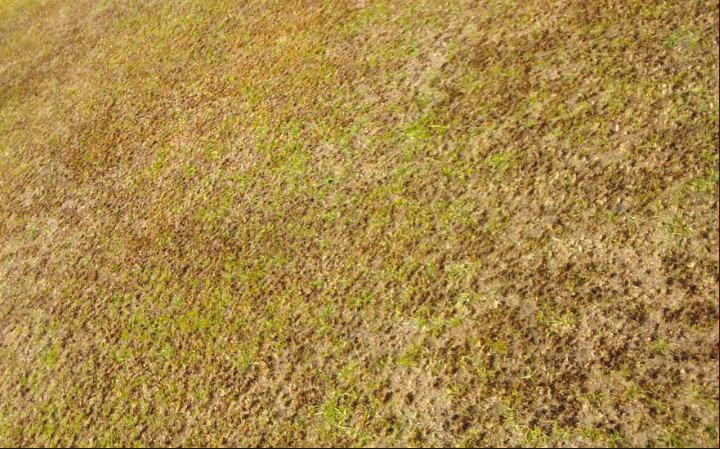
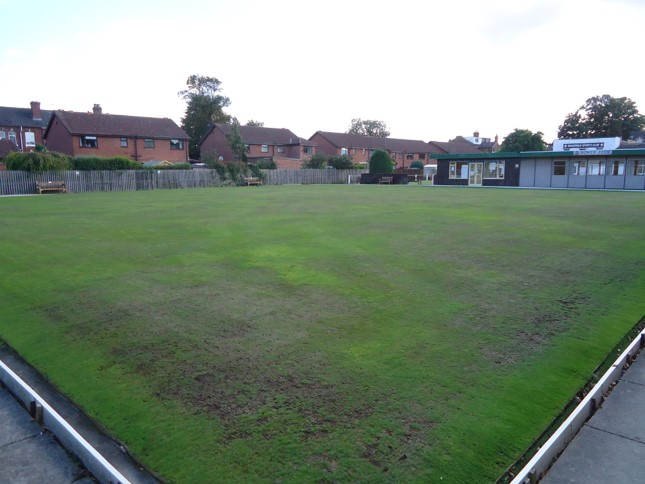
This guide provides step by step advice for general autumn maintenance as well as specific advice for all of the common bowling green problems like Disease, LDP, Moss, Thatch and Compaction.