
Most clubs don’t need a miracle. They need a method.
Over the last few months I’ve been asked the same question again and again: “Where do we even start to fix this green?” So I’ve mapped out a simple, evidence led, three-step process that any club, on any budget, can follow to get back to a smooth, true, resilient surface.
The 3-Step Method (quick tour)
Step 1 — Stand back and look properly.
Before you reach for a machine or a bag of anything, take stock. Walk the green. View it from height if you can. Note the bare patches, bumpy runs, wet/dry areas, moss and weeds. This first pass is about seeing the whole system, not chasing single symptoms. bowls-central.co.uk
Step 2 — Define the problems precisely.
Now get specific. Map the issues, measure them, and separate what’s cosmetic from what’s structural. Is it thatch or compaction? Drainage problem or hydrophobicity? Shade or nutrition? An accurate diagnosis stops you wasting money on “fixes” that don’t fix anything. bowls-central.co.uk
Step 3 — Gather hard evidence below the surface.
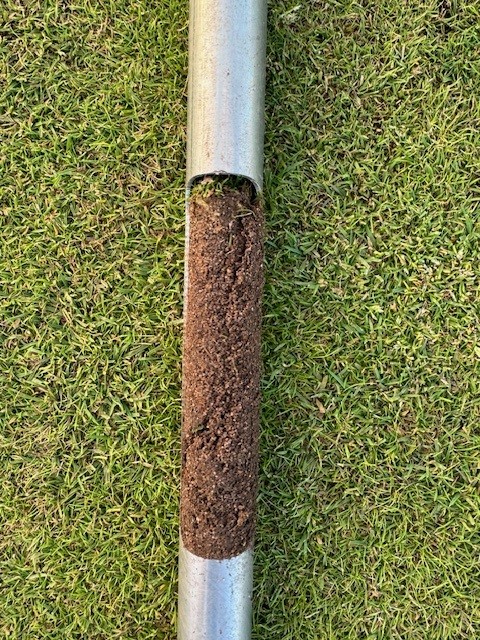
Take cores, photograph the soil profile, and check thatch depth, layering, rooting, smell (anaerobic?), and moisture…or lack of it. This tells you why the surface behaves as it does, and it informs a plan you can trust for the next 12 months. bowls-central.co.uk
That’s it!, observe, define, evidence. From there, the work becomes calmer, cheaper, and vastly more effective. You’ll know what to do, when to do it, and, crucially, what not to do.
Why this works (and saves money)
- It stops “symptom-chasing.” No more throwing sand, high salt fertilisers, or chemicals at problems that are really biological or structural.
- It gives you clear priorities. You tackle the root causes first, thatch, compaction, moisture and nutrition, so that everything you do in your greenkeeping makes a positive difference.
- It’s club-friendly. Volunteers can do this with guidance, a notebook, a knife/trowel for cores, and a phone for photos. You don’t need new kit to get started.
Ready to begin?
Start with the walk-through and checklist in Fix Your Bowling Green: Step 1. It lays out exactly what to look for and how to capture it so the next steps are obvious. bowls-central.co.uk
If you’d like a second pair of eyes on your notes, photos and cores, you can always drop me a line, I’m happy to help you turn your findings into a simple, season-long plan.
Hi
I’m a member of a bowling green in Nottinghamshire. We have had a lot of problems this year with surface sand large quantities of it. We sweep and remove Barrow loads but it’s no use. I suspect it has been over dressed in the past, and probably with sand heavy mixtures (I.e. not as promised).
Recent heavy rain leaves it wet and makes bowling conditions really poor. What would you advise us to do?
Hi Colin
Have a look at this article for some ideas on how to do autumn renovation differently: Climate Challenges for Greenkeepers 2. Fixing your green with a proven NotDressing Programme
Regards
John