The great debate about green speed has raged on since the beginning of the game. But what are the factors known to affect green speed?
In order of their impact on green speed these are the top 7 factors that you should bear in mind. Obviously there are others such as weather patterns, level of play etc, but these are largely out of the greenkeepers control and in any case do not figure highly in green speed management.
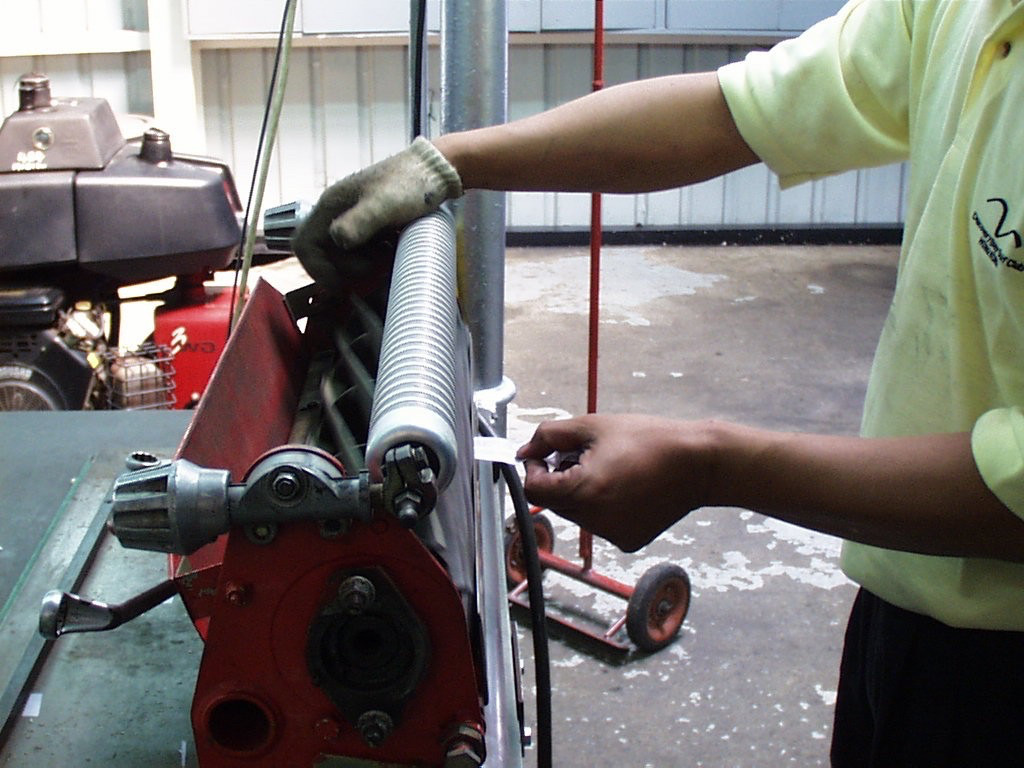
Another popular subject this month has been Winter Mower Servicing and in particular what you should expect of your local service workshop.
There have been many tales of work not being done properly and overcharging for service. Here is the minimum that you should expect to be included in a quote for winter service:
Full engine service including checking electrics, starting mechanism, new spark plug, all filters and oil change.
Replace bottom blade (new blade ground-in first)
Re-grind (not back lap) cylinder
Check roller bearings and advise if worn (adjust if possible)
Re-set cylinder to bottom blade clearance and check for even cut
Re-set mowing height to that specified by club.
Treat and touch up paint on any areas of rust
Check and adjust clutch settings
Check belts and replace if worn
Check Groomer and re-set to height specified by club
Check and adjust chain tensions
Lubricate all points
Free off and lubricate all adjustment mechanisms and check for proper operation
Check all cables for wear and replace/re-adjust as required
This is a minimum list and your particular brand of mower might have further items that will need to be checked. Check the manufacturer’s handbook for details, or better still request a winter service checklist from your local dealer.
Now is the time to check that this has all been done properly, not when you are half way across the green with a broken down mower on opening day morning!
Performance turf requires heat and moisture and it is inevitable that you will have to turn to your irrigation system at this time to keep your green’s progress moving forward. Failure to keep up now could result in a disastrous season later on when the green dries out unevenly, succumbs to Localised Dry patch or simply doesn’t perform due to a lack of moisture early in the season.
I have lost count of the words I have written, conversations I have had and arguments I have inadvertently started about one of greenkeepings greatest follies; routinely top-dressing your green with high sand content top dressing composts year in and year out. During my greenkeeping career over 3 decades and during countless hours of research I have been amazed to find clubs where 5, 7 or even 10 tonnes of top-dressing is being applied every autumn.
The really tragic thing about this practice is that in every case the club are paying for a contractor to hollow tine (core) the green and then apply this material.
Let me ask you where the cores from your green go after they are lifted?
I would hazard a guess that you either spread them on the rose beds around the green or give them away to members for their gardens.
Now hollow tining is typically carried out to a depth of 100mm (4 inches) and usually only 10-15 percent of the core is unwanted thatch.
So that means that 85-90% of each core is made up of all of the expensive top-dressing you have been applying over the years. No wonder the roses look so good!
With top-dressing now costing around £160 per tonne, its easy to see how hundreds of pounds are wasted like this on nearly every bowling green in the UK every year.
In addition to this there are a lot of negative agronomic impacts associated with this practice.
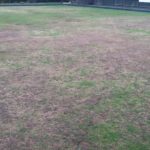
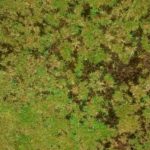
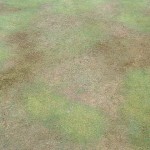
Localised Dry Patch is exacerbated by excessive sand content. This causes areas of the green surface to become impervious to water and dry out completely. The end result is an un-healthy, bumpy green which becomes susceptible to disease, moss infestation and loss of grass cover.
This is just one instance of good money being thrown after bad at just about every bowling green across the land.
Now this is not to say that top-dressing is never required or isn’t a valuable tool in the greenkeepers arsenal. There are times when top-dressing is absolutely the right thing to do.
However, there is generally no need to blindly apply several tonnes every autumn, only to keep the roses looking good!
One of the easiest, cheapest and effective methods of killing moss in turf is to apply Ferrous Sulphate. Therefore, on Bowls Central, I could sell many tonnes of Ferrous Sulphate at a nice profit margin every year by simply pandering to conventional thinking, but you won't find any for sale here. Let me explain why: